


A Checklist for Inspecting Stone Masonry Before Winter
Stone is patient. A wall can sit through decades of wet winters without obvious complaint, which is exactly why problems are so easy to miss. The hairline crack you noticed in August behaves differently by January, when water sitting inside it freezes, expands and quietly prises the stone apart from the inside. Two hours with a notebook, a torch and a pair of binoculars in early autumn is the cheapest maintenance a stone building will ever get.
Work downwards. Rain arrives from above, so follow its route: roof, gutters, wall head, joints, plinth, ground. Most damp problems at knee height started three metres higher up.
Start With the Water, Not the Stone
Before you look at a single joint, deal with everything that is supposed to move water away from the building. Gutters full of leaves in October will overflow all winter, usually straight down the face of the wall. Check for sagging runs, failed joints, and downpipes that discharge against the base of the masonry rather than into a gully. A downpipe emptying onto a stone plinth is a slow-motion demolition job.
Then look up at the wall head. Coping stones, gable copings, parapets and flashings are the wall's hat. If a coping has lifted, cracked or lost its mortar bed, water gets straight into the core of the wall, where it can travel sideways and appear as damp indoors, metres from the actual defect. Chimney stacks deserve the same attention: a failed mortar flaunching around a pot is a common entry point.
Reading the Cracks
Not all cracks matter equally. Movement in a lime mortar joint is normal and usually harmless; a crack that runs through the stones rather than around them is the one to think about. Look closely at the corners of the building, around window and door openings, where walls of different ages meet, and where a wall changes height — all places where stress concentrates.
If you find a crack, record it rather than panic. Mark both ends with a pencil, write the date next to them, and photograph the wall with something in shot for scale. Better still, fix a simple tell-tale across the crack: a strip of plaster or a thin slip of glass bedded at each end. Check it again in spring. A crack that has not moved in six months is a very different proposition from one that has widened by the thickness of a coin. Ongoing movement needs a structural engineer or a conservation-accredited surveyor, not a tube of sealant.
Mortar Joints: The Sacrificial Layer
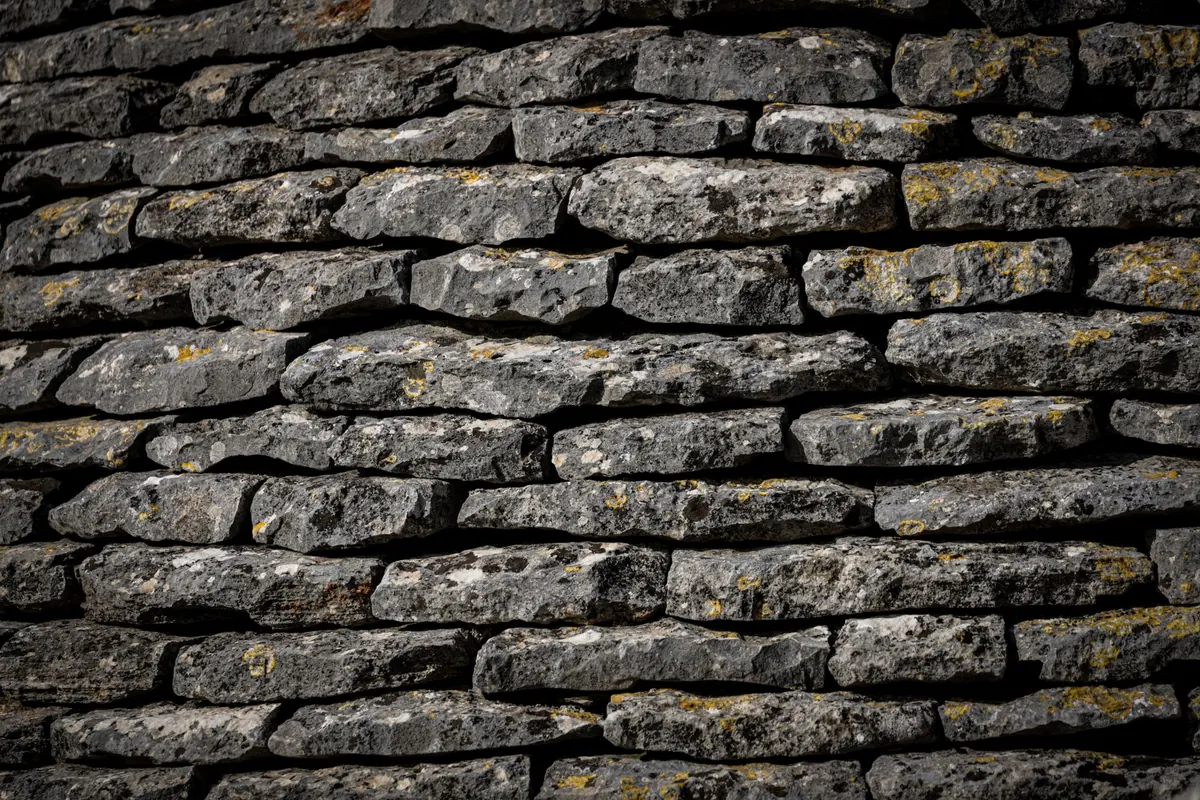
Mortar is designed to weather first so the stone does not have to. Run your hand along the joints at chest height and again near the ground. Healthy mortar is firm and slightly proud or flush; failing mortar is sandy, crumbly, deeply recessed, or sounds hollow when tapped. If joints are eroded by more than their own width, repointing is due.
The choice of mortar matters more than the pointing itself. Old stone walls were usually built with lime mortar, which is softer and more breathable than the stone. Repointing them with a hard cement mix traps moisture inside the wall, and that moisture then escapes through the stone face, causing the surface to flake away — spalling. Match the new mortar to the old in strength, porosity and colour, rake out the joints by hand rather than with an angle grinder, and avoid pointing in the weeks before a hard frost is forecast. Lime needs mild, damp conditions to cure.
Damp Patches, Stains and Vegetation
Stand back and look at the whole elevation in flat light, ideally after rain. Dark patches that stay dark for days, tide marks partway up a wall, white fluffy salt deposits, green algae on a north-facing section and moss packed into joints are all telling you the same thing: water is lingering where it should not.
Plants are not innocent either. Ivy holds moisture against the face and hides defects; valerian and buddleia seedlings in joints widen them year on year. Check the base of the wall too. Raised paving, soil or gravel beds piled against the masonry can bridge any damp-proof course and push water upwards. Air bricks and vents should be clear, not buried or painted shut.
The Autumn Walk-Round Checklist
- Roof and rainwater goods: clear gutters and hoppers, check falls, secure loose sections, confirm every downpipe discharges into a drain.
- Wall heads: tap copings for hollow mortar, check flashings, look for lifted or slipped stones.
- Cracks: note location, direction, width and whether the crack follows joints or cuts through stones.
- Joints: probe with a finger or a small screwdriver at low level, at corners and under sills.
- Staining and damp: photograph dark patches, salt bloom and algae, and note which faces they appear on.
- Stone faces: look for flaking, powdering or hollow-sounding areas, especially on softer sandstones.
- Ground level: check for soil, gravel or paving bridging the damp-proof course, and clear blocked vents.
- Vegetation: remove seedlings from joints while they are small; cut back climbers and check what they are hiding.
What to Fix Now, and What Can Wait
Anything actively letting water in should be dealt with before winter: blocked gutters, leaking downpipes, loose copings, open joints at the wall head. These are small jobs that become large ones once frost gets to work. Small-scale repointing lower down can usually wait until spring if the wall is otherwise sound, since fresh lime mortar and hard frost do not mix well.
Two categories deserve outside help. The first is progressive movement — cracks that widen, bulging walls, or anything that feels unstable. The second is listed buildings and those in conservation areas: in the UK, repairs to listed structures may need consent from the local planning authority before work begins, and it is worth checking before anyone lifts a chisel.
Getting the Wall Through to Spring
Keep your notes somewhere you will find them again. A dated folder of photographs, a sketch of the elevation with the problem areas marked, and a short list of what you did and what you decided to leave is worth more than memory when March arrives and you are trying to work out whether that crack has grown.
Deal with water, secure anything loose, monitor the rest. Do that in September and October, and the wall will do what it has always done: stand there quietly through the worst of the weather and be there in the spring.
Photo: Magda Ehlers / Pexels